Back to: DATA PROCESSING SS 1
Welcome to class!
In today’s class, we will be talking more about the spreadsheet. Enjoy the class!
Spreadsheet III

Loading excel application
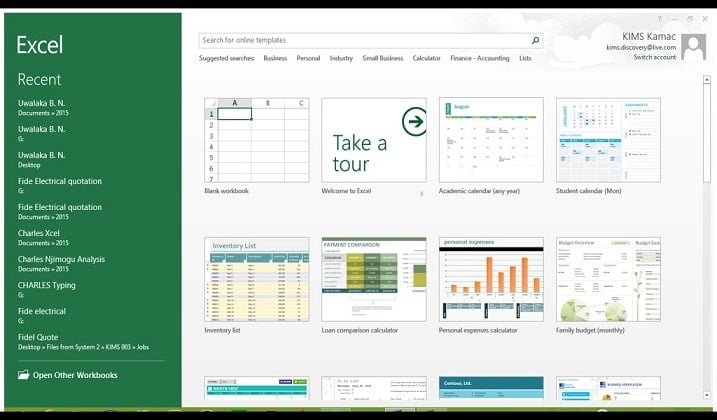
Click on all programs, check the programs and click on the Microsoft suites then click on the Excel application.
Creating an excel document
Once Excel is open, you can enter data into a file by clicking on a particular cell, then typing text, numbers, or formulas. Your changes will be entered into the current cell.
- Press the tab to enter your data and move the active cell to the right of the current one.
- Press enter key to enter your data and move the active cell to the next row, usually to the beginning of that row.
- Use the arrow keys to enter your data and move the active cell in the indicated direction.
- Press the end key, right-arrow key to move to the last cell in a row.
Entering data in a worksheet
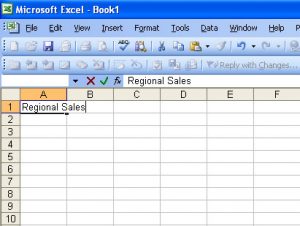
Locate the cell where you want to enter data on the worksheet and click on the cell. For example point and click on cell A1.

Type in your entry from the keyboard and notice the appearance of the entries in the formula bar with the cell address. Press ‘Enter’ key.
Evaluation
- What are the steps involved in creating a Spreadsheet?
- Explain how to enter data into Excel.
Editing data in a worksheet
Wrong entries may either be entirely re-typed or the particular cell/range of cells can be corrected.
To retype:
- Move the cell pointer to the cell to be corrected or re-type the entry and press ‘Enter’
To correct only the mistake:
- Move the cell pointer to the cell and double click on the cell.
- Make the correction by inserting, deleting or retyping.
- Press ‘Enter’.
Saving a worksheet
Saving for the first time:
- Click on ‘Home’ button,
- Click ‘Save As’ button and wait for a dialog box to open.
- Type in your desire filename (i.e. the name of the document).
- Click ‘Save’ button or press enter on the keyboard.
Saving while working (after the first saving):
- Click on ‘save’ icon on the Quick Access toolbar or click on ‘office button’ to open the menu. and click ‘save’ from the options.
Retrieving a saved worksheet
Retrieving a worksheet means to open an already saved worksheet from its location in the computer. This is usually done to view, edit or update the worksheet.
- Load/start Microsoft Excel
- Click on ‘Office Button’
- Click the ‘Open’ option from the list and wait for a dialog box to open.
- Navigate to the file you want to open and double click on it.
General evaluation
- Define a cell.
- State steps involved in saving a worksheet for the first time.
- Highlight the steps in retrieving a saved document.
Reading assignment
A Handbook on Computer Studies for Schools and Colleges by Niyi Adekolegan
Weekend assignment
- ___ is a collection of cells organized into rows and columns where data is stored and manipulated. Worksheet B. Graph C. Workbook D. Active cell
- ___ is a space in a worksheet formed by the intersection of a row and a column.
- Workbook B. Sheet C. Cell D. Cell Reference.
- There are ……… rows per worksheet in Excel. A. 1,048,576 B. 1,048,765
- 1,408,576 D. 1,022,333
- There are ___ columns per worksheet in Excel. A. 16,387 B. 16,384 C. 16,684
- 15,341
- The address of a cell is known as ___ A. Cell space B. Cell reference C. Cell Menu
- Active cell
Theory
- Highlight the steps in saving a worksheet
- In Excel, what do you understand by the term “retrieving”?
In our next class, we will be talking about Database Management. We hope you enjoyed the class.
Should you have any further question, feel free to ask in the comment section below and trust us to respond as soon as possible.
