Back to: HOME ECONOMICS JSS1
Welcome to class!
In today’s class, we will be talking about the sewing process. Enjoy the class!
Sewing Process

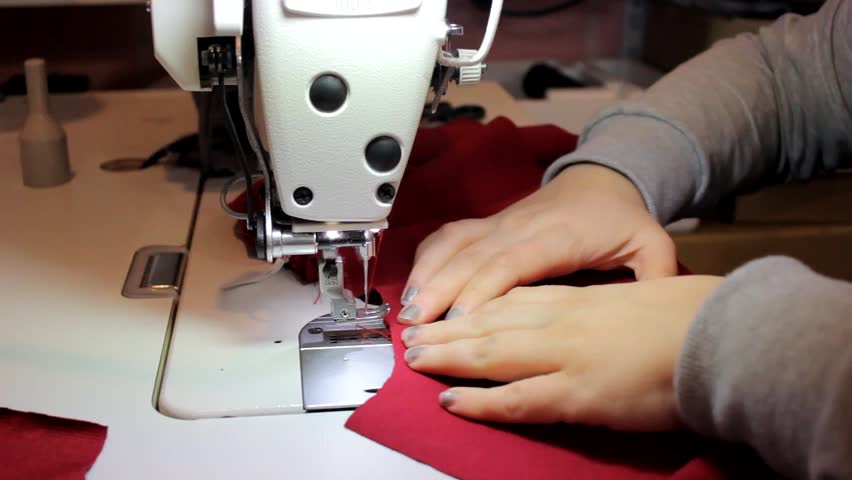
The basic process of sewing involves fastening of fabrics, leather, furs or similar other flexible materials with the help of needle and threads. Sewing is mainly used to manufacture clothing and home furnishings. Sewing is one of the important processes in apparel making.
If you’re just getting started with sewing, you might think that a dress is way out of your league. But that’s not necessarily so. A dress is a great beginner project, as long as you choose a simple style and easy-to-work-with fabric (more on that in a minute!).
As with any larger project, the key to making it manageable is to break it down into bite-size pieces or, in the case of a dress, components. Each component requires a series of steps to complete. Once you knock off one component, you’re ready to move on to the next. And so on until, before you know it, you’ve got yourself a custom-fit, seriously cute new dress!
1. Select your pattern and fabric:
Get a pattern you like online or at your local sewing store. As for fabric, your pattern will give you a list of suggestions. Stick to it! These fabrics will have properties (like weight, stress and drape) that will work best with the design.
2. Prep your pattern:
Open your pattern and identify all the pieces you’ll be using. For a simple shift dress, that might include the dress front, dress back, front and back neck facings and armhole facings or sleeves.
Give the tissue-paper pattern pieces a quick-dry pressing to remove all the wrinkles and make sure they lay flat on your fabric, then neatly set them aside.
3. Prep and cut your fabric:
Prep the Fabric. Press your fabric to remove any wrinkles, then lay it out on your workspace, following the pattern instructions. Keep in mind, you may need to fold the fabric in half.
- Place the Pattern Pieces: Place the pattern pieces on the fabric, per the pattern instructions. Always remember to line up the pieces along the grainline of the fabric.
- Don’t forget about directionality: If your fabric has a directional print, such as flowers with stems, make sure to lay out the pieces so that all the flowers are facing the same direction. Pin the pieces to your fabric, then cut!
4. Mark and sew darts:
Your pattern will likely have a few darts. Mine only has bust darts to provide some shaping. Transfer the pattern markings to your cut-out fabric. Darts are indicated by dots in a long triangular shape. Then fold and stitch from the fabric edge to the point. Press the fold downward.
5. Sew the back zipper:
Pro tip: If your dress includes a back zipper, sew it on now, before the front and back of your dress are sewn together. It’s easier!
You can put in a zipper in a variety of ways. In the example above, I used a lapped zipper application, which can be done by hand or machine, and discreetly hides it from view under a flap.
6. Sew the shoulder seams:
Your dress front and back are ready to be sewn together at the shoulder. Check your pattern instructions for the indicated seam allowance (in most cases it’s ⅝ inch), then stitch them together and press the seams open.
A note about V-necks: If your pattern has a V-neckline (or if you’re working with a loosely woven fabric like linen or double gauze), it’s a good idea to add a row of stitching just inside the edges of the neckline on both the front and back (known as stay stitching). This ensures the neckline will keep its shape and won’t stretch out.
In our next class, we will be talking about Cosmetic Production/ Household Craft. We hope you enjoyed the class.
Should you have any further question, feel free to ask in the comment section below and trust us to respond as soon as possible.
