Back to: HOME ECONOMICS JSS1
Welcome to class!
In today’s class, we will be talking about simple sewing tools and equipment. Enjoy the class!
Simple Sewing Tools and Equipment

Sewers working on a simple project need only a few sewing tools, such as measuring tape, needle, thread, cloth, and sewing shears. In addition to sewing shears, rotary cutters may be used for cutting fabric, usually used with a cutting mat to protect other surfaces from being damaged.
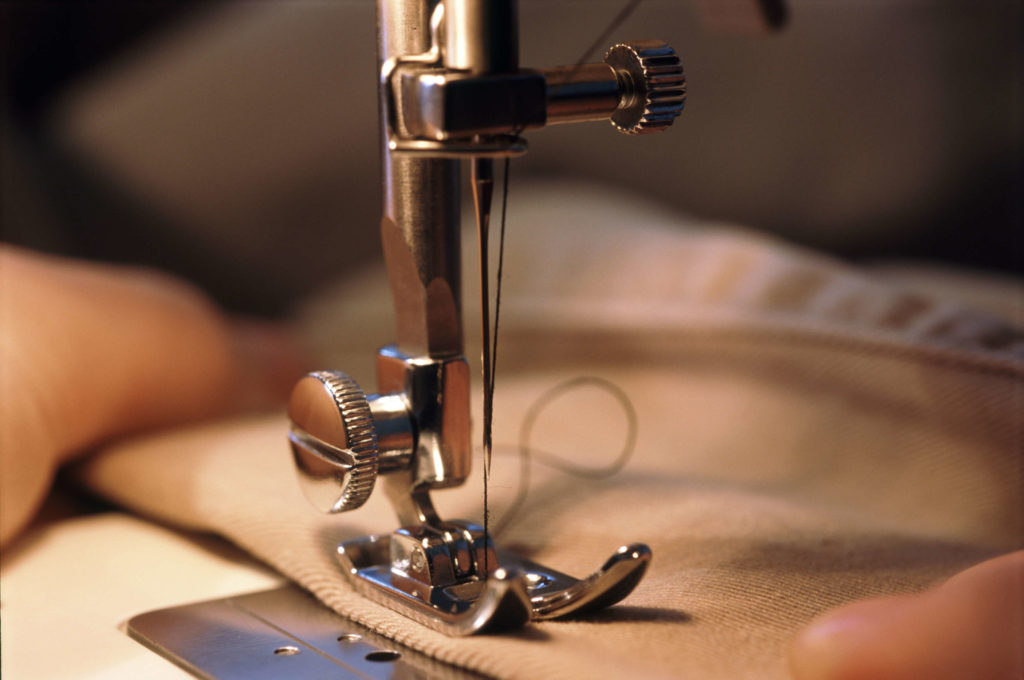
Sewing-machine needles:
There are different sizes and types of needles for different weights of fabric. Most sewing experts recommend starting a project with fresh sewing machine needles. Often, we blame tension or other machine issues on broken threads when it’s the needle causing the problem.

Pin:
You’ll rarely make a piece without using straight pins. In the garment industry, the experienced seamstresses just hold the pieces together and sew away, really fast! They’re fun to watch, but it’s best to pin pieces together before stitching.
You can use standard pins, but make a note that when sewing silk, use the finest pins to avoid making permanent holes in your fabric.
Pincushion:
A pincushion is a helpful tool to keep your pins organized and at hand when you need them. Alternatively, you can keep your pins in a metal container such as an old mint box.
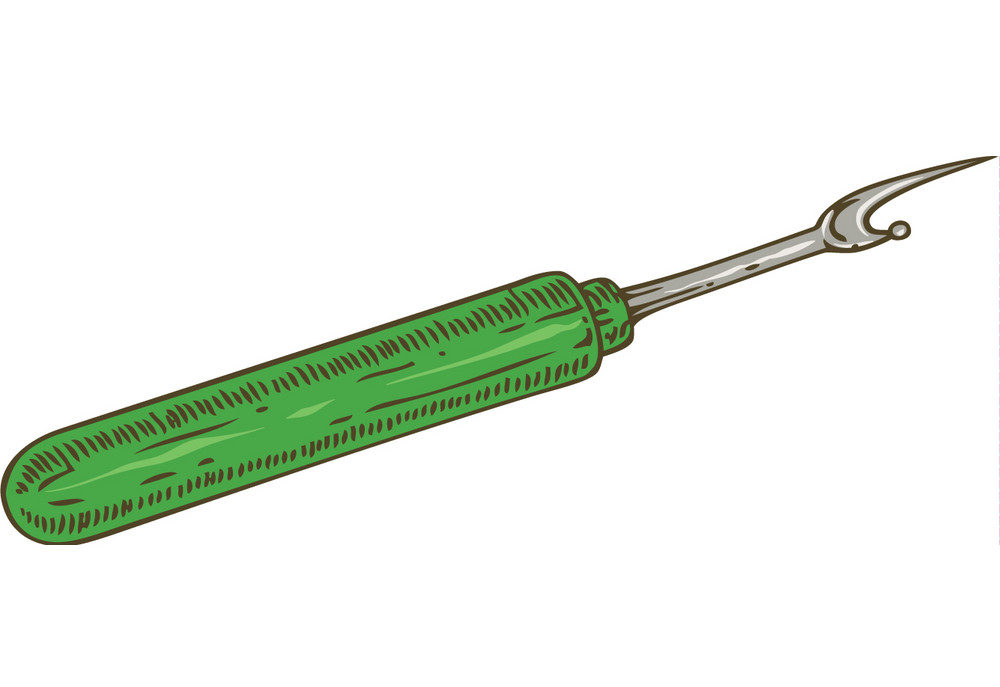
Seam ripper:
A seam ripper does exactly what its name implies. But why would one want to rip a seam? You might make occasional mistakes like stitching the fabric with the wrong sides facing each other, or stitching the left sleeve to the right sleeve opening, etc.

Iron and ironing board:
Ironing fabric before cutting your pattern pieces can prevent disasters later. The fit of a garment depends on the precision of the cut. While assembling the pattern pieces, the seams must be ironed open, so do hems before stitching.
Ironing the seams after you finish your piece of clothing will give it that nice, professional look. Make sure you set the heat of the iron to the fabric you’re using. If it’s too warm for the fabric, it can leave a mark. Take note of the fabrication of your material at the fabric store, so you know how to care for it properly.
Scissors:
You’re going to need to cut fabric to sew! There are several different types of scissors. We’ll go into greater detail on the different cutting devices in this article, but for starters, invest in a quality pair of scissors that you dedicate to your sewing projects!
Bobbin:
Wind the bobbin, and then install it below the needle to feed the bottom thread of the stitch.
In our next class, we will be talking about Sewing Process. We hope you enjoyed the class.
Should you have any further question, feel free to ask in the comment section below and trust us to respond as soon as possible.

I got question 1 wrong even though it was correct according to the text.
Please I want to relate this topic to SDG