Back to: Computer Science Primary 1
Welcome to class!
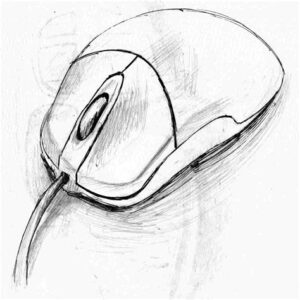
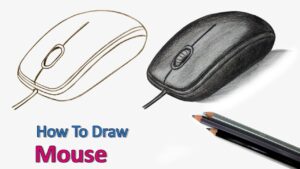
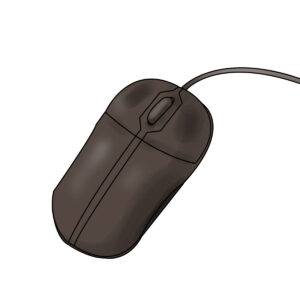
In today’s class, we’re going to draw a cool computer mouse. It’s like bringing a little tech friend to life on paper.
Drawing a Computer Mouse
Step 1: Draw the Mouse Body

Start by drawing a shape that looks like a slightly rounded rectangle. This will be the main body of your mouse.
Step 2: Create the Buttons
Now, let’s add the buttons. Draw two smaller rectangles at the top of the mouse body, one on the left and one on the right. These are the left and right click buttons.
Step 3: Add the Scroll Wheel

In the middle of the mouse body, draw a small circle. This is the scroll wheel. You can also add some lines inside it to show it’s ready to scroll.
Step 4: Draw the Cord
From the back of the mouse, draw a line that curves slightly. This will be the cord connecting the mouse to the computer.
Step 5: Add Details
Now, let’s make it look real! Add a few small dots or lines on the mouse body to make it seem textured.
Step 6: Color Your Mouse
Choose your favorite colors and carefully color in your mouse. You can make it any color you like—maybe a bright and cheerful color!
Step 7: Finishing Touches

You can add a shadow underneath your mouse to make it look like it’s sitting on a desk. You can also add a tiny arrow pointer on the screen of your drawing.
Step 8: Share Your Art
Once you’re done, show your family and friends your fantastic computer mouse drawing. They’ll be amazed at your artistic talent!
Today, we have explored a step by step approach on how to draw a computer.
We have come to the end of today’s class. I hope you enjoyed the class!
In the next class, we shall be learning how to draw a computer keyboard
In case you require further assistance or have any questions, feel free to ask in the comment section below, and trust us to respond as soon as possible. Cheers!
