Back to: HOME ECONOMICS JSS 2
Welcome to Class !!
We are eager to have you join us !!
In today’s Home Economics class, We will be discussing Body Measurement and Basic Pattern Drafting. We hope you enjoy the class!
BODY MEASUREMENT AND BASIC PATTERN DRAFTING
CONTENT
- Tools for taking body measurements
- Guidelines for taking body measurement
- Basic body measurement
- Patterns and types

BODY MEASUREMENTS
Accurate body measurements are needed to make garments. Wrong measurements will result in ill-fitting garments.
TOOLS FOR TAKING BODY MEASUREMENTS
- Tape measure: for measuring parts of the body.
- Pencil/pen: for writing down the measurements.
- Paper: for recording the measurements.
- A string: to be tied around the natural waistline.
GUIDELINES FOR TAKING BODY MEASUREMENTS
- Take measurements over close-fitting garments or undergarment. Wear flat shoes.
- For accurate measurements, let a friend take your body measurements for you.
- Record each measurement as soon as it is made.
- Use a tape measure that does not stretch.
- Measure accurately. Avoid adding to or taking from the actual body measurements.
- Stand erect when taking body measurements.
SELF EVALUATION
- List four tools for taking body measurements.
- State three guidelines for taking body measurements.
BASIC BODY MEASUREMENT
The basic body measurements required for making a dress are:
- BODICE
- a) Bust/chest- measurement around the fullest part of the bust/chest.
- b) Bust point- it is taken from the waist to underbust. It is used to determine the angle and position of bust darts.
- c) Front width- measure from one underarm to the other across the chest, approximately 4cm below the neck base.
- d) Front length-measure from the neck end of the shoulder to the string tie around the waist.
- e) Back width- measure across the back from one underarm to the other.
- f) Back length- measure from nape to the centre waist.
- g) Shoulder- measure from the side of the neck to the shoulder bone.
- SLEEVE
- a) Arm length (short sleeve) – measure with the arm bent from the end of shoulder to point of elbow. (long sleeve) – measure with the arm bent from end of shoulder to wrist bone.
- b) Upper arm circumference- measure around the widest part of the upper arm (short sleeve).
- c) Wrist circumference- measure around the wrist below the wrist bone (long sleeve).
- SKIRT
- a) Waist- measure around the natural waistline.
- b) Hip- measures the widest part of the body below the waist. The measurement is usually between 18cm and 23cm below waistline depending on the figure type.
- c) Front length- measure from the centre front from waist to the ground.
- d) Back length- measure from waist tape at the centre back to the ground.
- e) Side length- measure from waist tape at the side to the ground.
SELF EVALUATION
- What is body measurement?
- List and explain three measurements for a skirt.
PATTERNS
Patterns for clothing construction are shapes of garment parts, cut out with paper.
USES OF PATTERN IN GERMENT CONTRUTION
-
- Patterns are used to direct or guide the cutting of fabric.
- They prevent serious mistakes in garment making.
- They prevent waste of time in garment making.
- They prevent waste of fabric.
- They make sewing easy.
- They reduce trial and error in sewing.
TYPES OF PATTERNS
- COMMERCIAL PATTERNS: These are patterns that are designed and made by experts to fit standard figure types using specific body measurements. They are available in different sizes. They are sold in special pattern envelopes.
Advantages of Commercial Pattern
-
- a) They are easy to use because they are sold with instructions on how to use.
- b) They provide quick service as the users will not have to waste time calculating how to draft.
- c) They have instruction sheets which show how to cut and make up the garment.
- d) They save time and reduce mistake in garment making.
Disadvantages of Commercial Pattern
-
- a) It is not easily available.
- b) They are very expensive.
- c) They are light and can tear easily.
- d) They often require alteration or adjustment to fit the user’s
- DRAFTED PATTERN: It is also called a self-made pattern because it is made to fit a particular person. A person’s body measurements are first taken, then the pattern is drafted to fit his/her size.
Advantages of Drafted Pattern
-
- a) It is cheaper than commercial pattern
- b) It can be adapted to any type of style.
- c) It may not require adjustment if properly made.
- d) It can be made to fit a person perfectly.
- e) It does not require alteration.
Disadvantages of Drafted Pattern
-
- a) It is only useful for a single person whose body measurement was used.
- b) Pattern drafting requires special skill.
GENERAL EVALUATION QUESTIONS
- Differentiate between drafted and commercial patterns.
- List five guidelines for taking body measurements.
- State four uses of patterns in garment construction.
- List and explain two methods of garment repair.
- State five general guidelines in maintaining household linen.
BODY MEASUREMENT AND BASIC PATTERN DRAFTING
CONTENT
- Pattern markings and symbols
- Tools for pattern drafting and their uses
- Drafting basic pattern
PATTERN MARKINGS AND SYMBOLS
These are made on commercial patterns to show the dress-maker how to use the pattern in making garments. They include the following:
| Marking/symbol | Diagram |
| 1. Straight grain of fabric: It is an arrowhead symbol, indicating that the pattern piece should be placed on the grain i.e. parallel to the selvedge. | |
| 2. Place on fold material: A bracketed grainline, meaning that pattern edge should be placed on the fold of the fabric. | |
| 3. Darts: It is indicated by two broken lines for stitching. To make the dart, the material is folded along the centre
|
|
| 4. Notches: They are indicated with V-shaped symbols along the cutting line. They show matching points on the pattern |
|
| 5. Stitching Line: This is indicated with broken lines around the pattern area
6. Cutting Line: It is the outlines of a pattern. 7. Seam allowance: It is the space between the stitching line and the cutting line. |

EVALUATION
- What are pattern markings and symbols?
- List and explain three pattern markings.
EQUIPMENT AND TOOLS FOR PATTERN DRAFTING
TOOLS & USES
- Brown paper/cardboard paper Patterns are made on paper
- Tape measure for measurement
- Long ruler for drawing lines
- Sharpened pencil for drawing lines and writing on the brown paper
- An eraser for cleaning wrong lines and drawing
- Pins for holding two or pieces of drafted patterns
- French curve for shaping curved areas
- A table for drawing and cutting of patterns
DRAFTING BASIC PATTERN
The basic or foundation patterns often drafted are referred to as blocks. They are drafted to the exact size of the body without seam allowance. They can then be adapted or modified to any desired style. Therefore they are not intended to be used as patterns for cutting out fabric without being adapted.
The block is made up of:
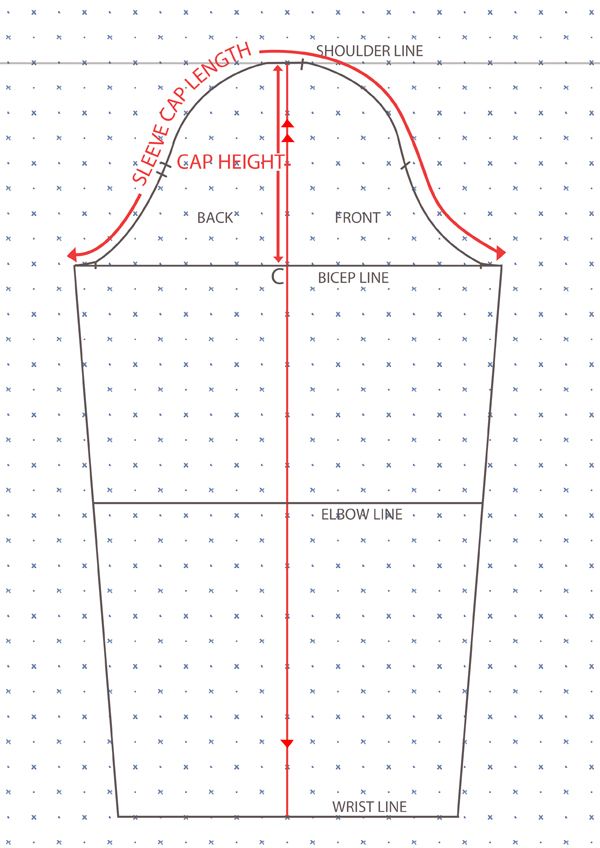
- BODICE:
-
- The front bodice
- The back bodice
-
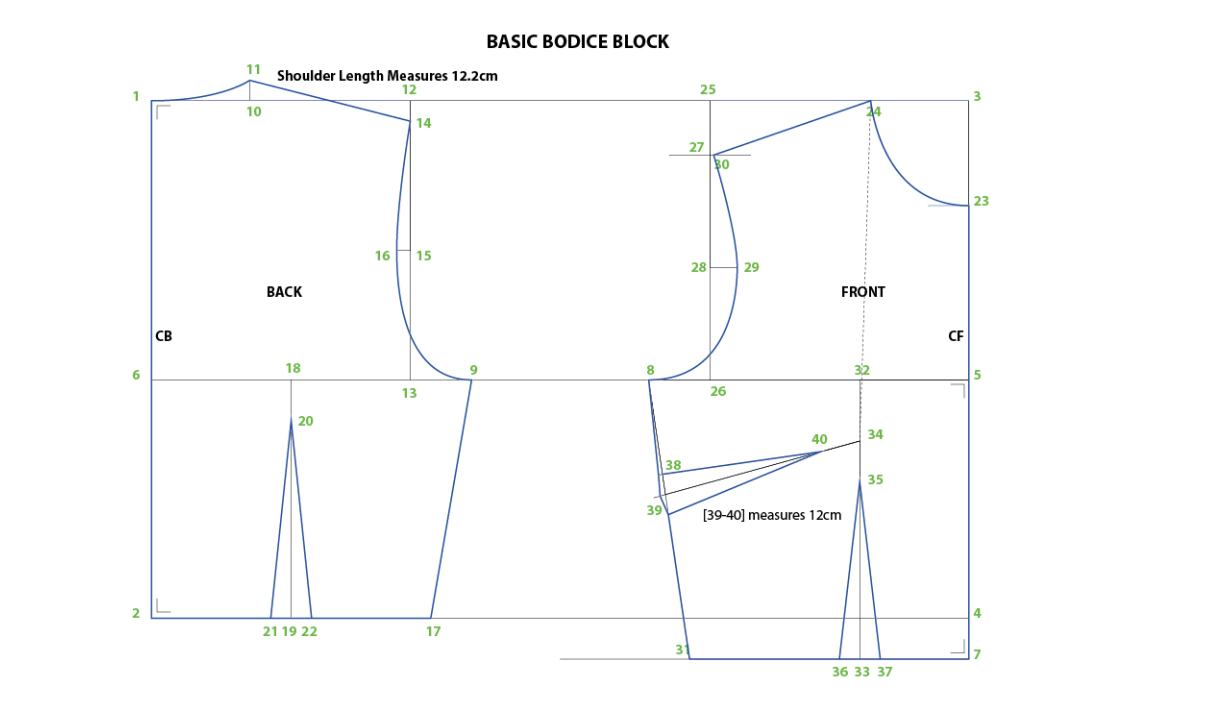
- SKIRT/TROUSER:
-
- The front skirt/trouser
- The back skirt/trouser
-
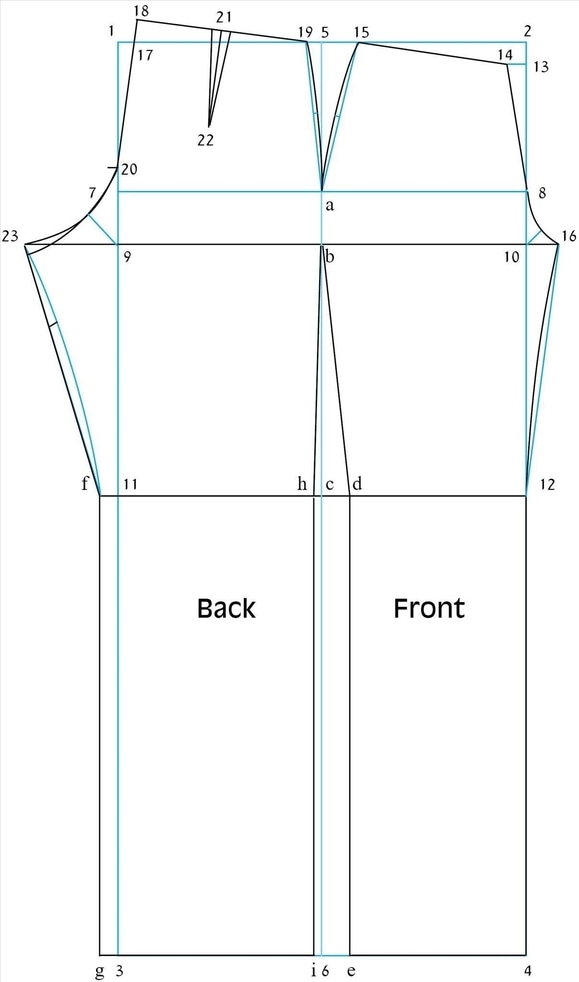
- SLEEVES
SELF EVALUATION
- Mention three tools for pattern drafting and their uses
- Define the word ‘Block’ as used in pattern drafting.
CONSTRUCTION OF BLOCK PATTERNS TO BE DONE IN THE PRACTICAL CLASS
GENERAL EVALUATION QUESTIONS
- State two advantages of a commercial pattern.
- State one disadvantage of a commercial pattern.
- State two advantages of a drafted pattern.
- Write the classification of sewing equipment and tools with two examples each.
- Differentiate between stitches and seams.
We have come to the end of this class. We do hope you enjoyed the class?
Should you have any further question, feel free to ask in the comment section below and trust us to respond as soon as possible.
We have come to the end of this term. It’s been a remarkable journey and we are glad that you have made it this far. For making it this far, we commend you for being resilient, you have taken charge of your education and future. The Journey still continues though, we are moving on to Second Term. we hope to see there.